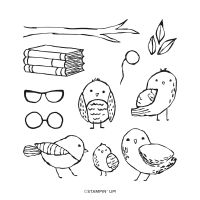
Birds Eye View is a stamp set I wanted the moment I saw it in the 2023-2024 Annual Catalogue, and I was so glad it was carried over because I didn’t buy it. You can bet I bought it quickly from the current annual catalogue to use in 2024. That never happened. So, today I’m showcasing two cards that I made this past weekend. Being a lover of funky glasses, I just had to stamp glasses to my two birds.

Hello Friends,
I hope you are all safe from the fires in the US, and my fellow Canadians are enjoying warmer temperatures. While I was in my stamp room on Sunday I had my window open. It was a little breezy and cool, but let me tell you that this girl found it invigorating. Somehow it made me feel like it was a spring day–a nice thing with our long winter months. For those who are not Canadian, let me tell you that from Dec through to May, we rarely have blue skies and sun.
This past Saturday I held a workshop/stamp camp to celebrate the new mini January-April mini catalogue. Ocean Friends and Terrific Toadstools were extremely well received, and I heard that the bright colours were very welcome–especially at this time of year.
I have many upcoming classes. Please sign up for my Newsletter and follow me on Facebook
Birds Eye View is that sleeper set that often goes unnoticed. Often, I gravitate to those kind of stamps. The colours of my birds were inspired by a photographer that I’m friends with on Facebook. My black cardstock was inspired by a friend who told me she uses a little black on every card. I told her I rarely used black, and so I challenged myself to use it.
TUTORIAL
- Cut black card stock at 5 1/2″ x 8 1/2:” (A2). Score at 4 1/4″.
- Cut 1″ off of the front edge.
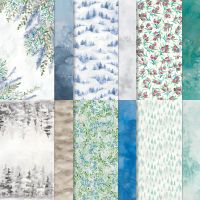
- Cut Designer Series Paper (DSP) at 3″ x 5 1/4″ and a coordinating piece of DSP at 1″ x 5 1/4″.
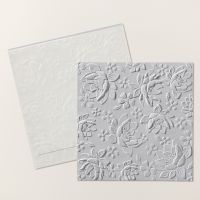
- Emboss the larger piece of DSP if you wish.
- Cut Basic White at 3″ x 5 1/4″ for the inside.
- Cut a decorative piece of Basic White for sentiment.
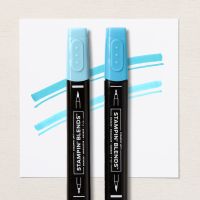
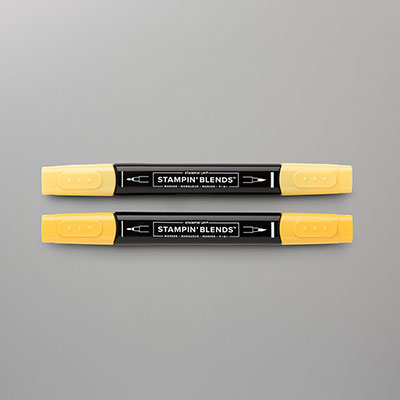
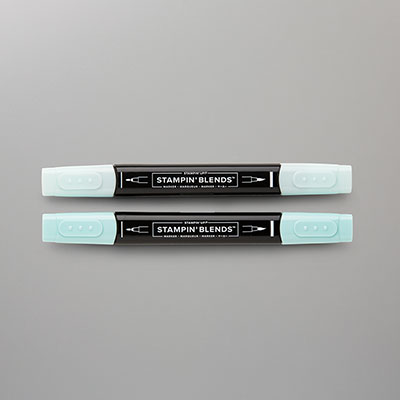
- Stamp Birds Eye View onto a piece of Basic White. Using Stampin’ Blends, colour the birds.
- With a round die of your choice, cut around the bird.
- Using a larger circular die, cut mat for the white background, and adhere the image to the black.
- Glue the larger piece of DSP onto the left side of card front.
- Open card. Adhere small strip of DSP along the right edge of the inside of the card.
- Adhere the large piece of Basic White to the inside of your card. Be sure to snug it up to the right side DSP strip.
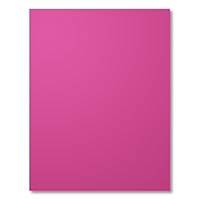
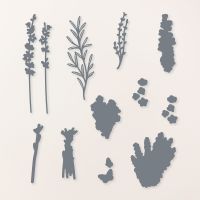
- Cut embellishments and adhere to the front of the card. I cut greenery in Berry Burst using Forever Fern (Forever Fern is retired but you can use greenery from any other stamp set.
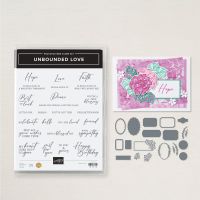
- Stamp a sentiment out onto the small Basic White that was cut for the sentiment.
- Stamp Sentiment. Adhere to card front with dimensionals.
As always, enjoy your paper crafting and please share your projects with me. I enjoy seeing what other creative minds come up with and am frequently inspired by them.
Happy Stampin’, Beth





these little guys are just the cutest, fun putting glasses on them, sweet cards!