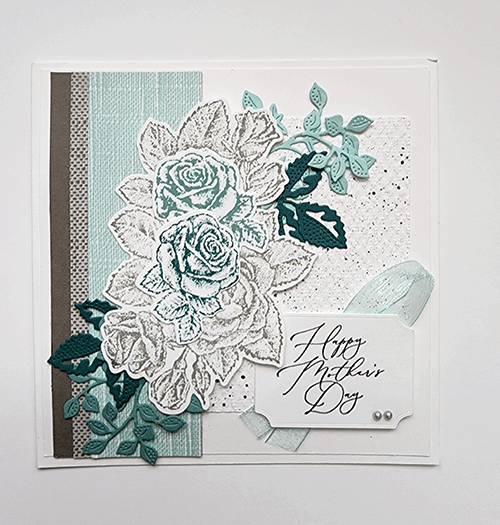
Toadstool Gardens Designer Series Paper (DSP) partners with Terrific Toadstools, stamp set. Toadstool Gardens 6″ x 6″ DSP is a free Sale-a-Bration reward if you spend $75.

Hello Friends,
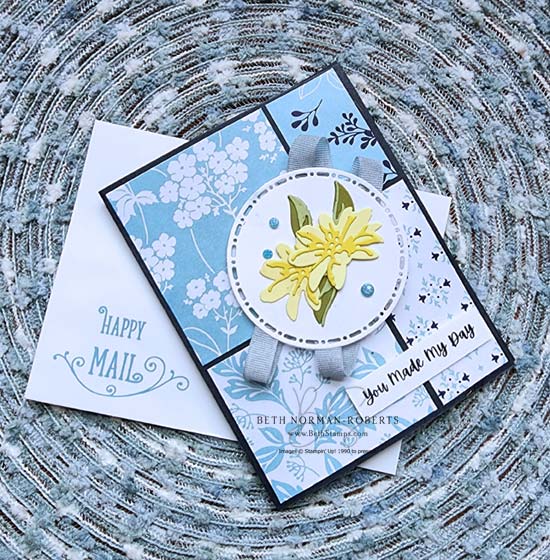
How’s the start to your week so far? Mine has been pretty good. For those who are on my Bethstampscanada Facebook group, you may have seen my post showing my blanket full of houses that I am knitting. After spending a few months knitting the roofs and skies on the first three rows, I am having to relearn how to knit the house bases all over again. After a little frustration, I put it away for now to make this thank you card.
Well – my Demonstrator preorder is arriving this week and I’m so excited. My preorder is from the new March 2025 On Line Exclusives. One of the biggest perks of being a demonstrator, for me, is the luxury of having a sneak peak into new upcoming releases online and in catalogues, before the general public. I feel like a little kid getting that sneak peak and the opportunity to order in advance. Does that sound like something you would like to be able to do? If so, Sale-a-Bration is the best time to sign up to become a demonstrator. The last day of Sale-a-Bration is on February 28, 2025.
Demonstrators are NOT obligated to teach classes, hold workshops or sell to anyone.
You can enjoy all the perks in the short video above, plus save 20% on your purchases. No obligation to sell to anyone but yourself. Please contact me if you have any questions or are considering this offer to join.
Card Instructions
- 5 1/2″ x 8 1/2″ piece of cardstock for card base
- 4″ x 5 1/4″ piece of white cardstock for the front
- Three pieces of DSP cut 1 1/8″ x 2 3/4″
- Three pieces of cardstock 1 1/2″ x 3″ for the mat
- Small round white circle 2 3/4″ or a tad larger
- 1. Using an embossing folder run the large white piece of cardstock through the Stampin’ Cut & Emboss machine. Glue cardstock onto the front of the card.
- 2. Apply adhesive on the three pieces of DSP and adhere onto the mats
- 3. Stamp out images and/or sentiment on white circle
- 4. Apply pop dots to the back of the three mats and adhere them to the front of the card, ensuring that the three pieces of cardstock are evenly spaced
- 5. Using dimensionals adhere the sentiment onto the card front’s right hand side, on top of the DSP
- 6. Using coordinating dots, decorate the front of your card


 Designer Series Paper")


As always, enjoy your paper crafting and please share your projects with me. I enjoy seeing what other creative minds come up with and am frequently inspired by them.
Happy Stampin’, Beth