Today’s focus is all about casing a card – copying, creating, and sharing!
Hello Friends,
Here we are in the last week of March–a very welcome time. We all hope that there is no more snow, and as long as there is sun we’re as good a gold. I woke up to snow on the car Saturday morning, but by the end of the morning it was all melted off–thank goodness. My capris and t-shirts are out even thought it is still cool because I can’t take my winter clothes any longer. It has been a long winter this year.
I hope you were able to get creative this past weekend. Are your Easter cards done? I finished my grandchildren’s Easter cards over 3 weeks ago and just got them into the mail yesterday. It’s crazy how often I forget to get my cards mailed on time. Grrr.
Let’s CASE
Have you ever seen a card you absolutely love but aren’t sure how to recreate it? That’s where “casing” comes in. CASE stands for Copy And Share Everything, and it’s a wonderful way to spark creativity while learning new techniques.
When you case a card, you can copy it exactly as it is, or use it as inspiration to make it your own. Change up the colours, swap out the stamp set, or tweak the layout just a little–there are so many ways to put your personal touch on it!
The best part? Sharing your creation and giving credit to the original designer. It’s a beautiful way to support and inspire one another in our crafting community.
Learn How I Cased
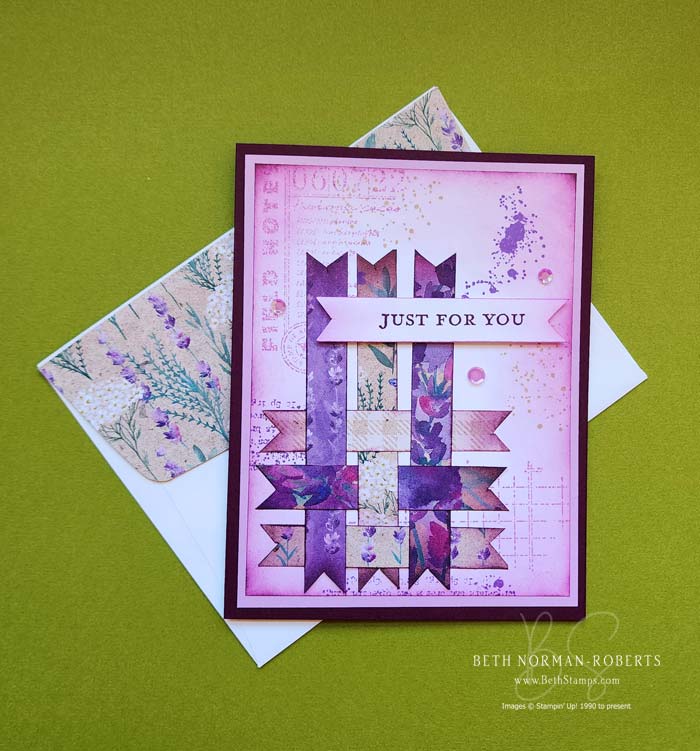
Typically when I CASE a card I change out the paper and stamps/dies. On my card, above, this is what I did…
- Let’s start from the very beginning. Lisa Freeman is a United State’s Stampin’ Up! Demonstrator and is who I “cased” today. You can see her YouTube video here.
- My paper choice remained the same as Lisa’s. I think we’re both trying to use up our current Designer Series Paper (DSP) in anticipation of new wonderful paper in the May catalogue.
- Ink colour change. I fell in love with the colours that Lisa used but because I wanted to make this card as different as I could, I changed out the colours, pulling out Blackberry Bliss, Fresh Freesia, and Highland Heather inks.
- Cardstock colour change. Did you know that on the back of every DSP package there is a rundown of what colours are used? I read over the list on the Perennial Lavender DSP I used and Blackberry Bliss and Fresh Freesia jumped out as a good choice.
- Background Stamp change. I looked through my large stamp collection to see what I could use for my background and found three sets that I could use.
- Change of Embellishment. I added Fresh Freesia pearls.
So today, why not find a card you love and give casing a try? You might just surprise yourself with what you create!
As always, have the BEST time getting crafty! I can’t wait to see what you create, so please share your projects with me! Seeing your beautiful ideas and clever twists absolutely makes my day–and honestly, you inspire me more than you know!
Happy Stampin’


